HELLOOOOO! And welcome to my first official Funday Friday. I thought I’d kick this one off with a downloadable freebie to make a gift card holder. With Valentine’s Day coming up, I thought these would make fun little gifts to send to some friends in their Kindness Kits. If you’d like to download the template and follow along with these instructions, you can do that here.
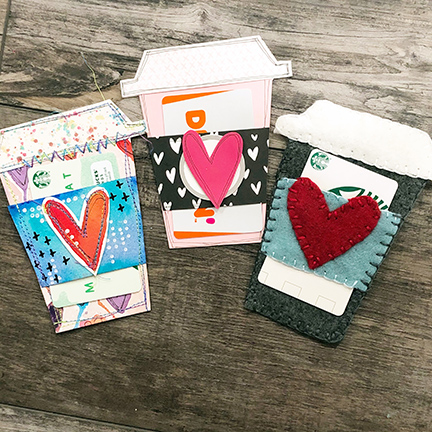
As you probably know by now, I like to dabble in lots of different mediums, so I thought it would be fun to make this template three ways. I’ve made this gift card holder using scrapbook paper with my favorite glue, watercolor paper with machine stitching and felt with hand stitching.
Cardstock gift card holder
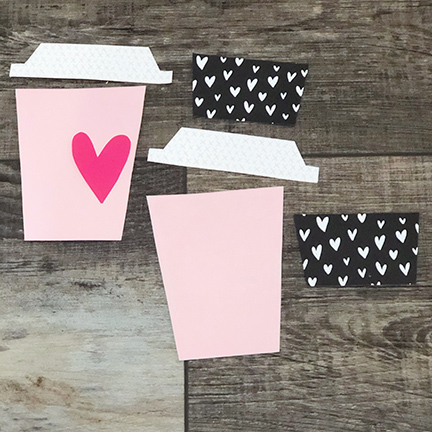
Let’s take a look at the easiest, no-stitch scrapbook/cardstock paper version. All you need is some paper, scissors and your favorite adhesive, a black pen — and if you’ve got a circle tab you can use that too! Don’t have a circle tag? No worries – you can skip it or cut a circle out of a piece of contrasting paper. For this one, I used two pieces of each part of the template except the heart (I only used one):
- Cut the template shapes from the downloaded file and trace on to your card stock or paper.
- Cut two of each shape except the heart (you only need one.) I used two pieces of card stock for the base to stabilize it and because I wanted the lid to cover both sides of the cup base.
- Adhere the two cup bases together.
- Adhere the lid to one side, with about .25 inch, flip it over and adhere the second lid to the back, lining it up to the front.
- Adhere the sleeves onto both sides. Make sure to only add adhesive to the very left and right edges of the sleeve on the front, so you can fit the gift card through.
- Adhere the heart to the circle tag, if using, and add to the sleeve. I used a bit of 3D tape to pop the heart up a little, giving it a bit of dimension. You could certainly stop here, but I went in with a Micron pen and added some doodling and lines around the the whole thing.
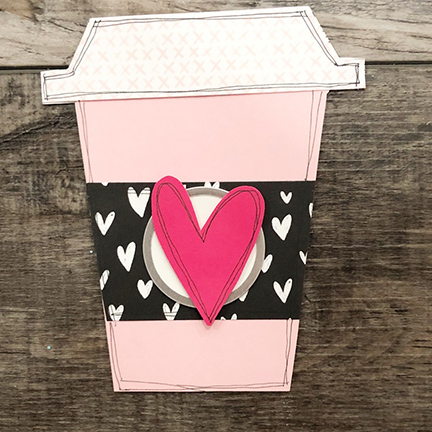
- Slide the gift card into the sleeve!
Watercolor paper gift card holder
For this one, I pulled out my favorite watercolors and used my sewing machine. It came together pretty quickly.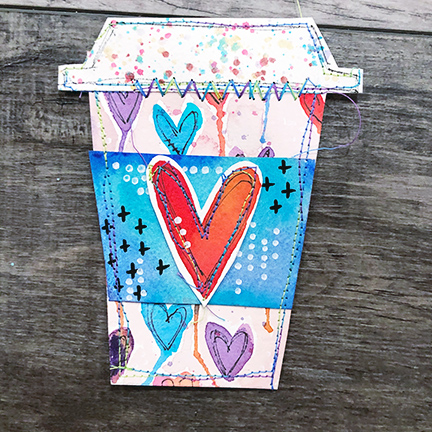
- Trace and cut one piece of each shape out of your water color paper. (You can also trace first, paint and then cut). Because I’m using 140# cold pressed paper, it’s pretty stable, so I didn’t use two pages. If you want to hide your stitches on the back, feel free to cut a second base and lid and glue after you’re done stitching. But I love to see the stitching on both sides!
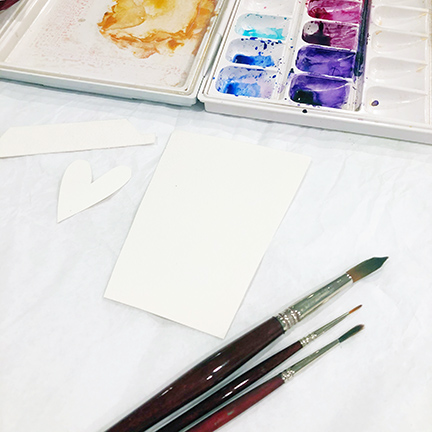
- With your favorite watercolors, paint designs on each piece. Consider how they will work together once layered.
- Once dry, I outlined my designs with a Micon pen.
- Take it to your machine and stitch away. First, stitch the heart to the sleeve. Then stitch the lid to the top, overlapping about .25 of an inch. Finally, stitch up the sides of the sleeve. I actually added decorative stitching all the way around, but you could add it just to the sleeve. I love how the stitching mimics the doodling on my scrapbook paper version.
- Slide the gift card into the sleeve!
Felt gift card holder
I used hand stitching on this version because it’s just so adorable. You could certainly stitch it by machine – or even use fabric glue if sewing and stitching isn’t your thing.
- Trace and cut shapes out of felt. I used a “premium” version for the cup base which is pretty thick. I cut one piece of each shape except the lid – I cut two of those. Again, I want to hide where the lid overlaps the cup.
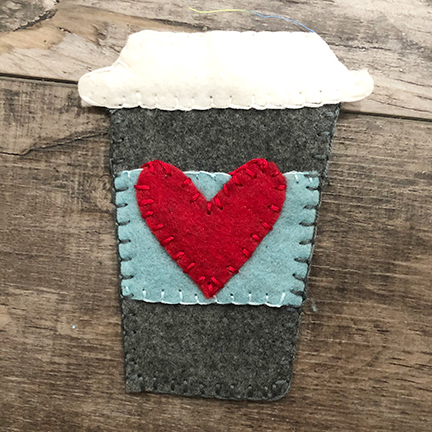
- Add any decorative stitching you’d like. Here’s what I did with mine:
- Stitched the heart to the sleeve using a quick little whip stitch.
- Added a blanket stitch to the top and bottom of the sleeve.
- Placed the sleeve on top of the cup base and added a blanket stitch around the three sides (remember, the top will be covered with the lid.
- Sandwiched the cup base between the two lids with a .25 inch overlap. Added a blanket stitch all the way around the lid.
- Slide your gift card into the sleeve!
I love how one pattern can create three very different results. Download the template, shop your stash and create your very own Valentine gift card today. I’d love to see what you create – use #50fundayfridays so we all can follow along.
Until next Friday – happy creating!
I cannot wait to try this. I love felting, slow stitching and felting. Thank you!!
Thanks so much Lori!! Can’t wait to see what you create!
Thanks so much Lori!! Can’t wait to see what you create
I meant … and coffee, ha ha was so exited I had a typo there.
Lol 🙂 love your enthusiasm!