by Kelly Waterman | Jan 9, 2022 | General, Stitching
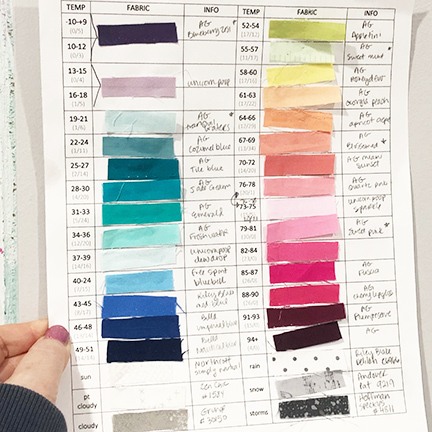
So in late October I saw my first temperature quilt. I had heard of crocheted temperature blankets. But I don’t crochet any more (or at least, not in years). Although, truth be told, every time I donate my extra yarn and hooks, I literally decide 3 months later...
by Kelly Waterman | Jan 29, 2021 | Stitching, Tutorials
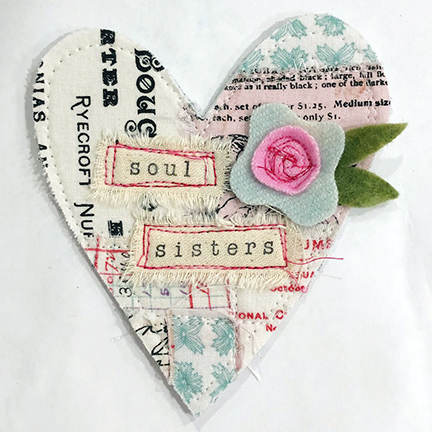
Hello friends! It’s Friday and that means it’s time to put on your party hats and kick up the fun. Let’s talk Galentne’s. Yep, ya heard me: Galentine’s let’s face it, February 14 isn’t just for Cupid and romance. It’s a time to celebrate love and kindness and...
by Kelly Waterman | Jan 22, 2021 | Freebies, Stitching, Tutorials
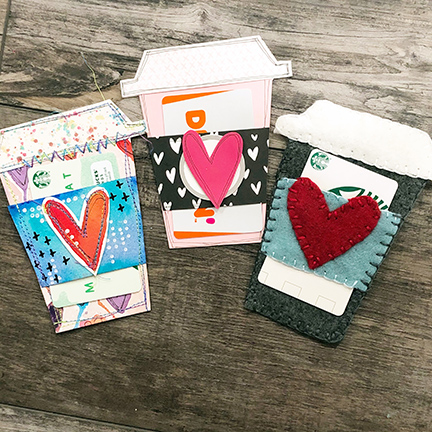
HELLOOOOO! And welcome to my first official Funday Friday. I thought I’d kick this one off with a downloadable freebie to make a gift card holder. With Valentine’s Day coming up, I thought these would make fun little gifts to send to some friends in their...
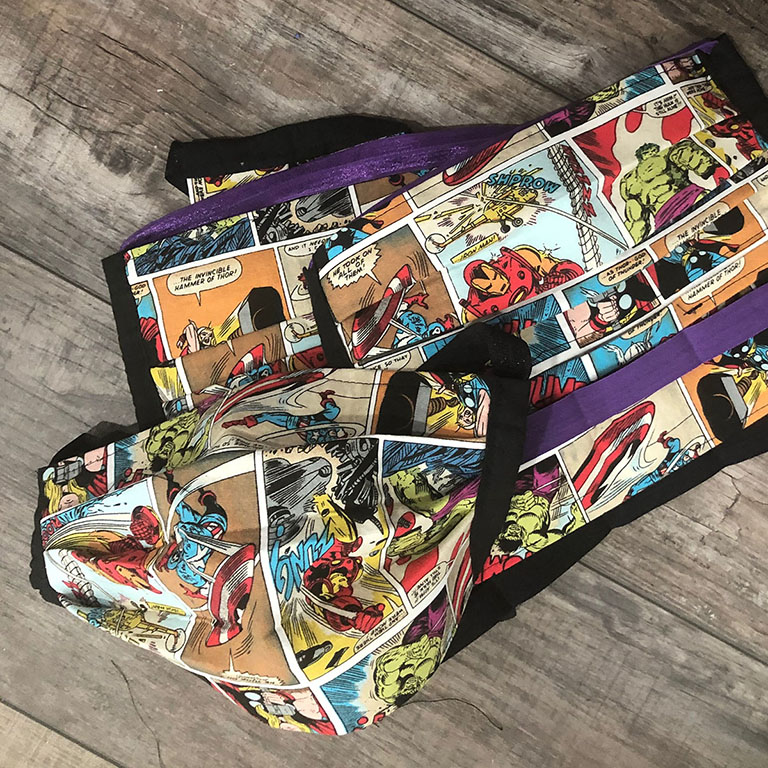
by Kelly Waterman | Mar 15, 2020 | Stitching
I’ve had a sewing machine for nearly 25 years. Mike bought it for me as a gift because I had grandiose ideas of making all of my kids’ Halloween costumes. We had one kid – and the machine sat unused for about ten years. At which point, I decided to...